
Frequency Separation Made Easy for Portrait Skin Retouching
A Nondestructive Skin Retouching Technique
August 3oth, 2013
By Gustavo Mayoral
Introduction
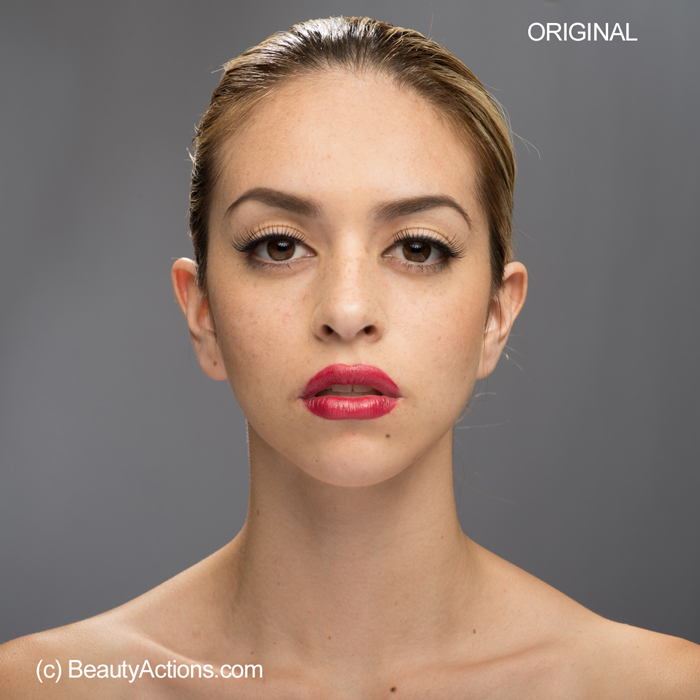
There are several ways to retouch skin for portraits in digital images. Some of them involve the use of a commercial retouching filter, you probably already own one or have tried them. Usually these filters are fast but can be crude and aggressive. The alternative is to manually edit the image.
You can achieve all this using the tools that Photoshop already provides. These methods are also customizable to any workflow and allow you to control the amount of retouching on different parts of the skin.
The downside is that you are going to have to learn and remember a lot of settings. But, as you will see, if you use the tools I provide here, you will find it very easy to implement.
In this article I will take a look at one of the common methods: Frequency Separation, and I will share a tool that will get the complications out of it.
What is Frequency Separation?
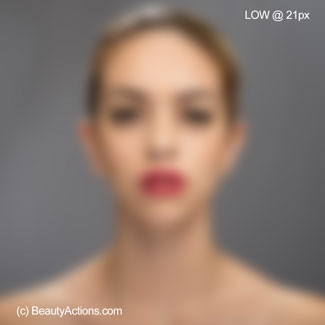
In a nutshell, you take an image and separate in two layers. In one you leave all the texture and detail, and on the other the colors and tones.
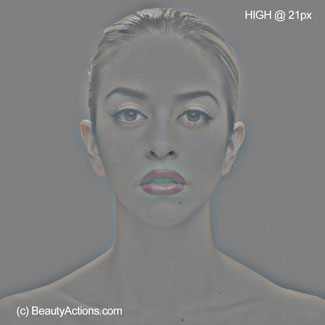
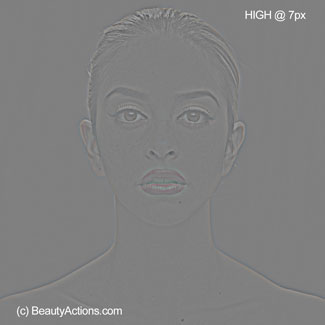
The layer with the details/texture is usually known as “High Frequency” and the layer with the tones/color is referred as “Low Frequency.
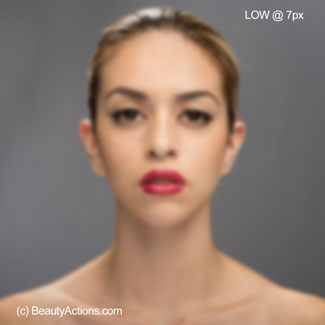
There is one setting (pixel blur amount) that will control the amount of detail in the separation process. More on this coming next. Just remember that the Blur Amount controls the Separation.
| Separation @ 21 px | Separation @ 7 px |
|---|---|
 |
 |
 |
 |
Why do this?
To be able to retouch the tone, color and blotches in the Low layer without touching the texture (fine details of skin) and vice versa. You will have better control on what gets modified, and in turn achieve better more detailed results.
How does frequency separation works in practice?
The fast method is to separate the image once, and retouch the tone/blotches in the low layer and the texture and fine details in the high layer. If you want more control and better results, you can repeat the separation several times for specific frequencies controlled by the Blur Amount used during the separation.
Separating and Image using BeautyActionsFS (provided here for free)
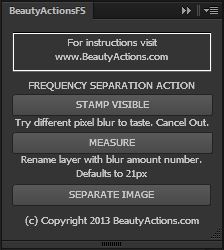
You can download and learn how to separate an image with a click of a button click here
Separating and Image manually
This is how you separate an image manually:
Step 1
Create two layers with a copy of the image. You can do it using stamp visible (Mac: Command – Shift –Alt – E Win: Control – Shift- Alt E)
Step 2
Name one High and the other one Low and put the High Layer on top of the Low Layer
Step 3
Make the High Layer invisible and select the Low Layer. Apply the Gaussian Blur Filter
Step 4
On the Gaussian Blur Dialog, move the pixel amount slider until the details of the skin disappear. The more you blur the less details you will see. Find the correct amount by slightly over blurring the area of skin you want to retouch. Apply the filter.
Step 5
Select the High layer and make it visible. Go to Image menu– Apply Image.
If your image is 8 bit
Step 6a
In the Apply Image Dialog, use the following settings and click OK:
Layer: Low
Channel: RGB
Invert: Uncheck
Blending: Substract
Opacity: 100%
Preserve Transparency: Uncheck
Mask: Uncheck
Scale: 2
Offset: 128
If your image is 16 bit
Step 6b
In the Apply Image Dialog, use the following settings and click OK:
Layer: Low
Channel: RGB
Invert: Check
Blending: Add
Opacity: 100%
Preserve Transparency: Uncheck
Mask: Uncheck
Scale: 2
Offset: 0
Step 7
With the High layer selected, change the blending mode to Linear Light.
How to retouch the separated image
Now that you have the image separated in High and Low frequency you can use the Healing brush, Clone tool, dodge and burn or even apply filters to each of the parts of the image.
The recommendations are:
Retouch texture imperfections (pimples, scars etc) on the high frequency layer
Retouch spots, blotches and tones on the low frequency layer.
It takes a bit of experimentation and practice to get the results you are looking for, and you may need additional techniques to achieve the precise results you are developing.
Conclusion
There you have it, a simple and flexible way to separate your images in high and low frequencies if you use the BeautyActionsFS plug-in suggested here. A tool that with a click of a button will save you time and the need to remember all the settings if done manually. Hopefully this was helpful.
If you like it, there is more to come. Pleaase subcribe to our newsletter to get the latest.
Gustavo Mayoral for BeautyActions.com